Microsoft introduced the zip and unzip feature in Windows back in 1998 and this tool is still a saviour for users who want to store large files and save memory simultaneously. The zip feature is perhaps widely used to save files and documents.
In the latest iteration of Microsoft’s popular operating system — Windows 11 — the zip file format compresses and makes the files smaller and speeds up file transfer which saves disk space. The zip compression feature can be used to combine multiple files into a single compact file.
Launch File Explorer and locate the files you want to compress into a zip file

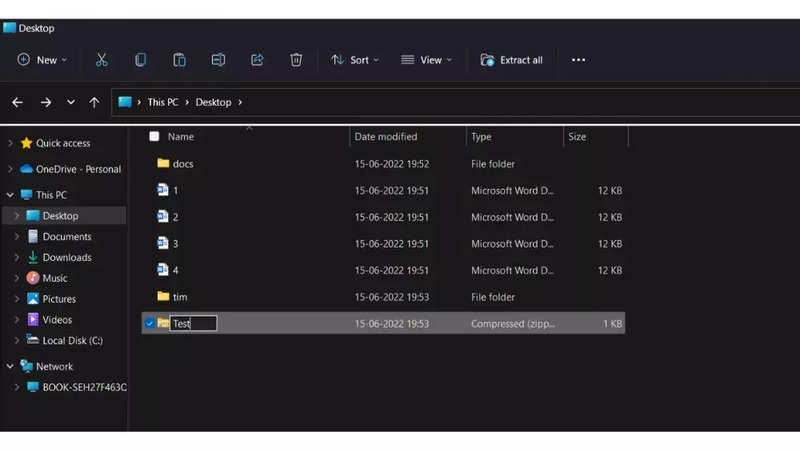
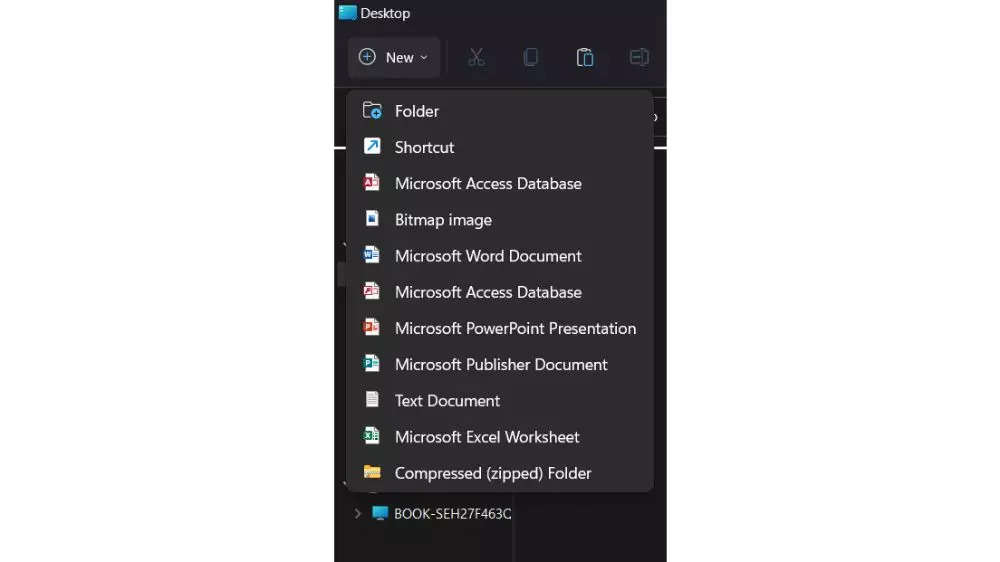
Click on the New menu button from the command bar and select the Compressed Folder option
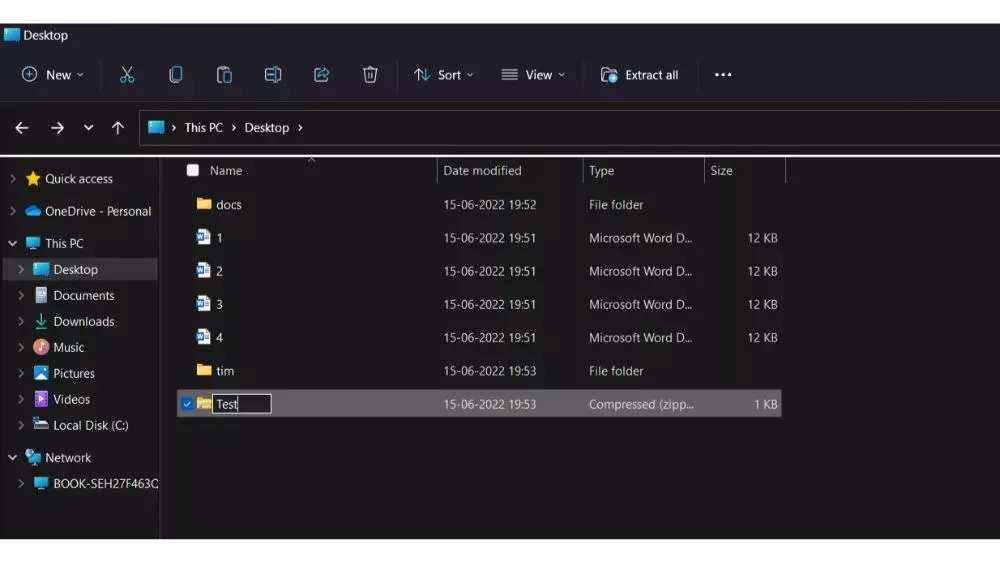
Create a name for the zipped folder and press enter
Now select the files and folders you want to zip
Right click on the selection and select the Cut option
Double click on the newly created zip folder
Click on the Paste button from the command bar
Once the steps are completed, you will end up compressing the files in the .zip container which has all the files that you have zipped.
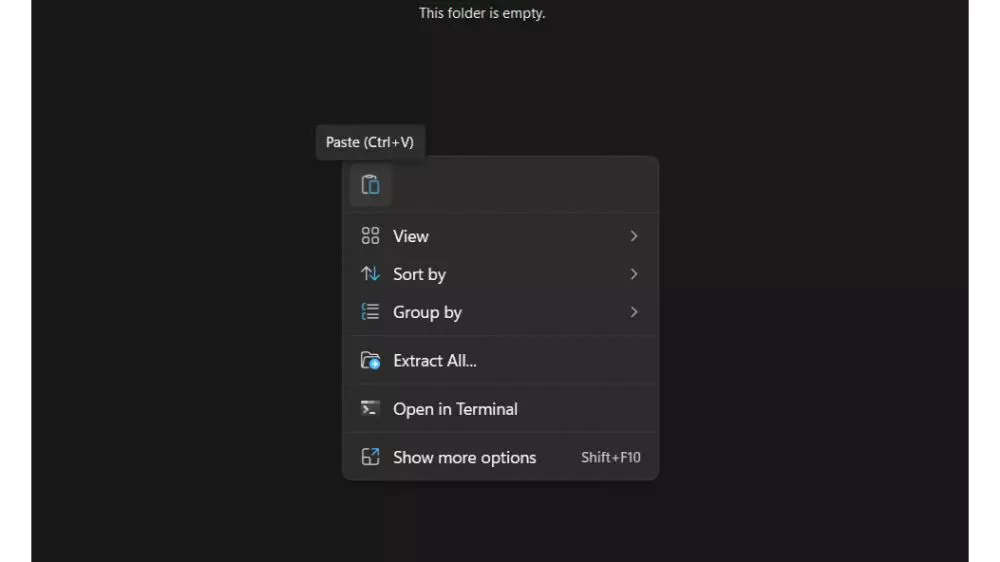
Open the folder which has zipped folder in it
Click on the Extract all button from the command bar
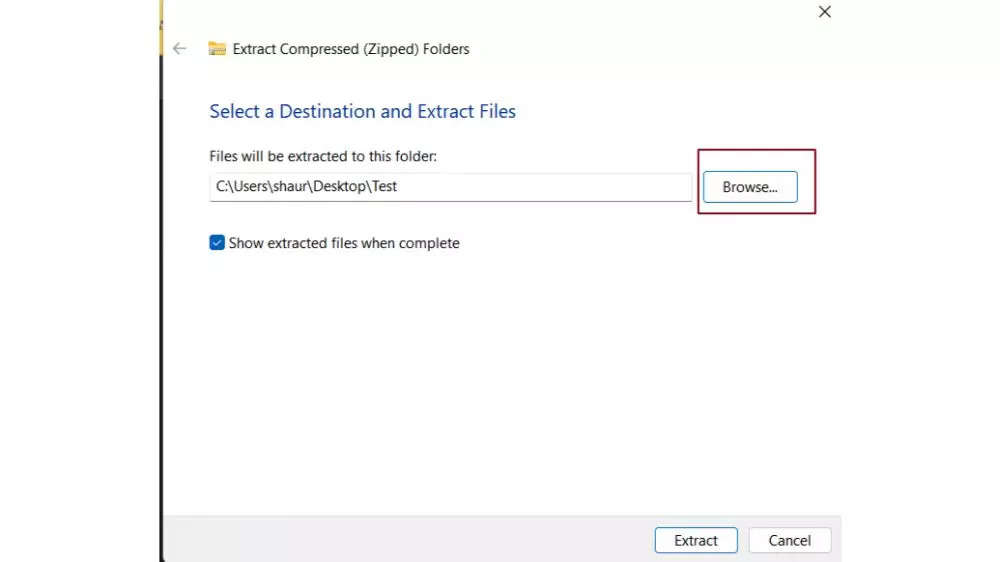
Click on the Browse button and select the location where you want to store your extracted files.
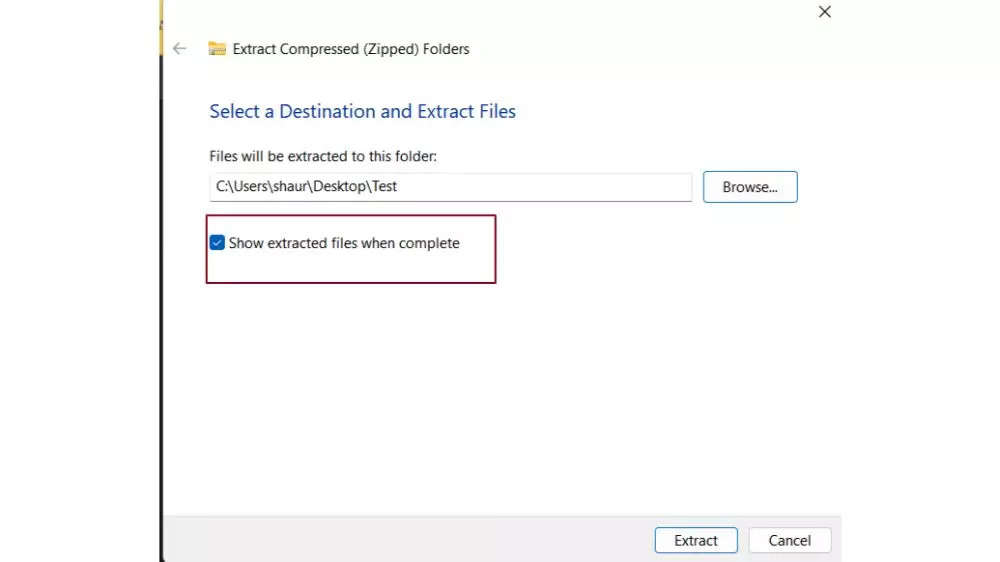
Click on the Show extracted files when complete option.
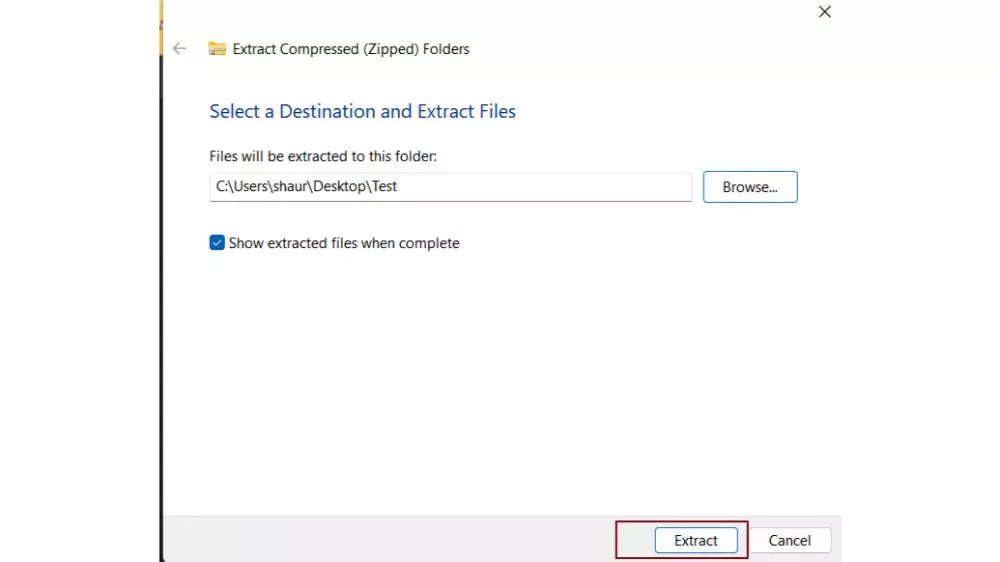
Click on the Extract button
Extract all the files individually
- Launch File Explorer
- Open the folder which has zipped folder in it
- Select the .zip folder
- Select the files you want to extract
- Click on the Cut option from the command bar
- Open the location to extract the files
- Click on the Paste options from the command bar
Repeat the steps to extract other files.
FacebookTwitterLinkedin