Wherever you get your pictures, in your mind’s eye you want them to be as expertly hung as the Royal Academy of Arts’ Summer Exhibition. But poorly spaced frames and wonky canvases can spoil the final effect.
In the first instance, think about where a piece of art will look its best and the hanging system – picture rail or hooks – that suits your home.
“Pictures look different depending on where you hang them,” says Henry Miller, an east London-based art dealer and gallery owner. “Try them in different places.”
He says direct sunlight should be avoided if possible: “Some mediums can take more light than others. Oil paintings are more resilient, but watercolours, drawings and photographs are not.”
You could consider using UV glass, he says, as this will “protect the works for years to come” – you can buy sheets to fit your frames on websites including Etsy.
The next step is tackling the hanging system. “If you live in a period home, you may have a picture rail already and all you will need is the hooks and wires,” says Miller. “It will save you making endless holes in the walls. It also frees you up to try different pictures without messing up the wall.”
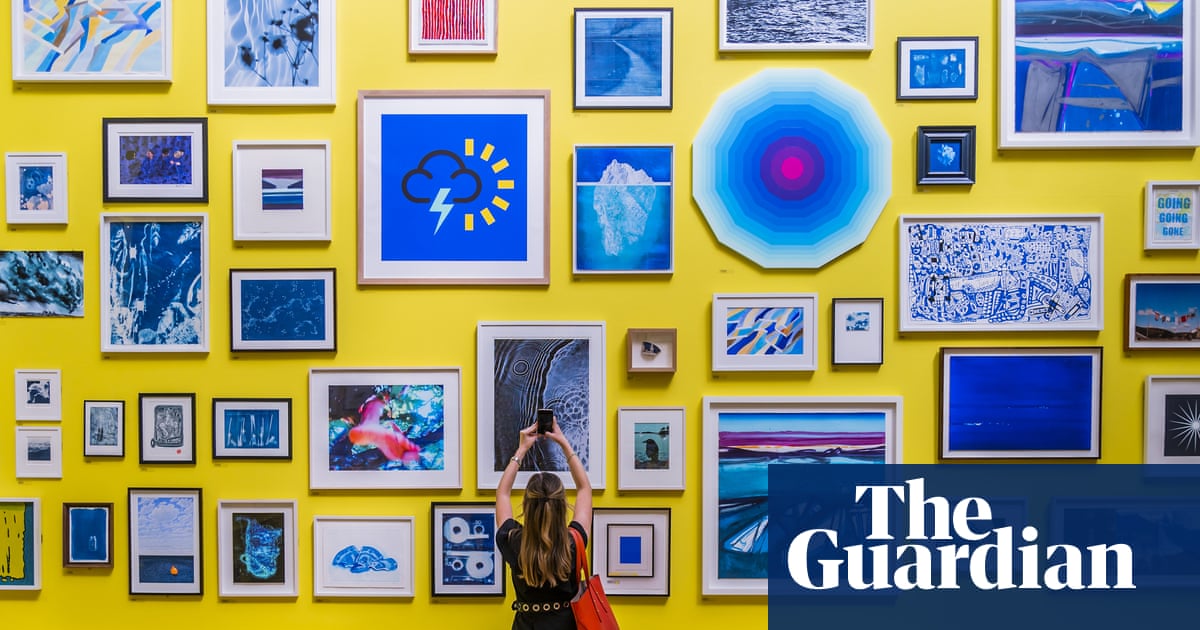
Think about the look you are trying to create. Some collectors break up walls into small feature areas and treat each one separately. On Instagram trends include creating a salon wall, where a number of pictures of varying mediums and sizes are hung next to one another, or curating a picture ledge – a narrow shelf on which you can prop your pictures.
Generally speaking, the size of the gap between pictures is less important than keeping it consistent. Many interiors sites suggest a 5cm gap works well but if the frames are larger, then up to 15cm provides some breathing space.
Lay the art on the floor or even use a piece of paper to come up with a scale that fits your room. A strict grid look more formal, whereas a group hung within a square or rectangle appears more relaxed.
One of the most common mistakes to make is hanging pictures too high or low, with most professionals taking the view that art should be hung at eye level. This usually means positioning the midpoint of the picture 145cm-152cm from the floor or 20cm above a piece of furniture.
Another approach is to visually your wall and divide into four horizontally – ideally your work should be in the third section when counting up from the floor.
Before you reach for the hammer gather the other tools you are going to need. These include a tape measure (some experts suggest “trusting your eye” but this could end in tears), pencil, hammer, a range of hooks and nails. Also try to enlist a friend or family member to help.
If your picture isn’t too heavy you can use regular picture-hanging hooks but if it is on the larger side, opt for a big hook with multiple nails to secure it. If it is really heavy, you may need to use a drill, raw plug and screw to fix a sturdier hook in the wall.
Once you have used your measuring tape, lightly mark the wall where the centre of the picture should be and ask your assistant to hold the picture in place so you can step back to double check. When you are happy, place another mark on the wall at the top edge of the frame.
Next, measure the distance between the top of the frame down to the wire or D-ring (if it’s a wire hold it taut). Returning to the wall, measure down from the point that marks the top of the frame to find the exact spot where the hook should go.
What could possibly go wrong?